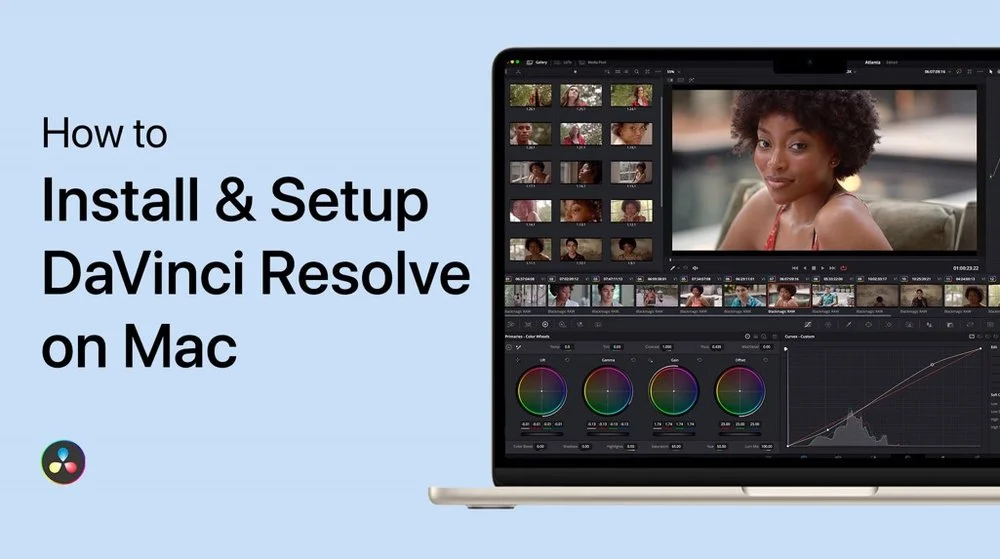
Davinci Resolve is one of the industry-leading video editing software that facilitates the workflow of content-creating professionals and professional video editors. Its use is not limited to social media content creation. Its advanced capabilities like advanced colour grading, detailed editing capabilities and motion graphics have made it ideal for high-end film and television projects.
Besides basic editing, you can do advanced editing tasks like colour correction, facial recognition and graphic motion. Plus, you can generate a proxy with its powerful proxy generator in a few keystrokes. It enables you to work on a single project with your team. This makes it the best platform to collaborate with other professionals. And you can remotely monitor your team or project.
AI-driven capabilities include 8K editing, reframing of images and patch placer. If you want to operate this intuitive program but hesitate due to the lengthy procedure. Let us help you. Here we are providing a complete step-by-step guide to install and set up Davinci Resolve on your PC.
Downloading of Software:
Step 1: Open Blackmagic`s Davinci Resolve official page on your desktop.
Step 2: Scroll down and you`ll see a download button.
Step 3: Hit the download button.
Step 4: Pop-up window shows you platform options i.e. Windows, Mac and Linux. Select your platform.
Step 5: Now a data form appears on your screen. Fill out this registration form with your authentic information.
Step 6: Click “Next” and wait for the downloading to complete.
Installing Davinci Resolve:
Step 1: Open the Davinci Resolve ZIP folder.
Step 2: Click on the ZIP file and select the “extract here” option.
Step 3: As soon as the file is extracted, you will see a duplicate of the ZIP file.
Step 4: Double-click on the duplicate file to install it.
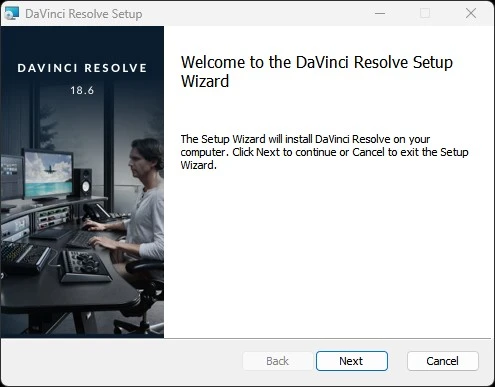
Step 5: The Installer window pops up on your screen, click on the “install button”.
Step 6: The installation process may take time, so wait for the process to complete.

Setting up Davinci Resolve:
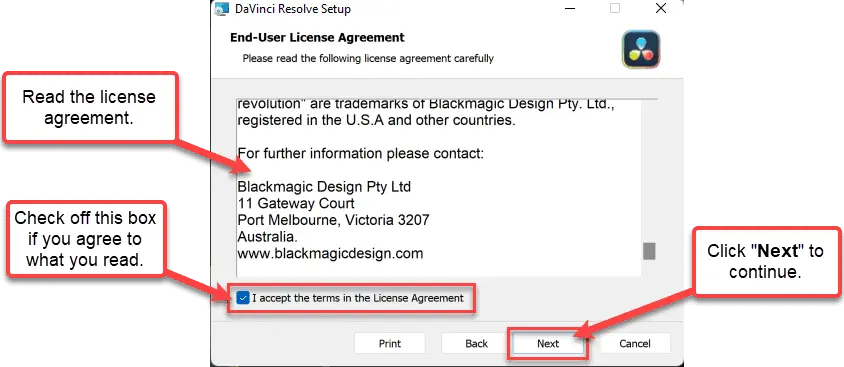
Step 1: User-license agreement appears on your screen. Click on the “Accept” option which refers to; your agreement with all terms of the policy.
Step 2: Choose the destination folder and click “next” to proceed.
Step 3: Now your system is ready to install the application.
Step 4: Click on the “install” button and wait for installation to complete.
Step 5: After the installation process is completed, a window pops up on the screen that shows the option to restart the computer.
Step 6: Give your consent to restart your computer.
Step 7: Now search for Davinvi Resolve in the search box on your desktop. You can see that the software is installed.

Systematic Needs:
- Free disk storage: 3GB for web app and 4GB for desktop app
- RAM storage: minimum 16GB
- Other: Internet connection
- Skill level: Beginners to experts
Conclusion:
Installing and setting up of Davinci Resolve is a little bit complex but here we provide a straightforward method to install the application. If you are an editing enthusiast Davinci Resolve is an amazing opportunity for you. Follow the mentioned steps and start editing jaw-dropping videos.